How is video walls installed and configured?
The installation and configuration of video walls should be approached as a complex task that is solved strictly in stages.
Video wall installation
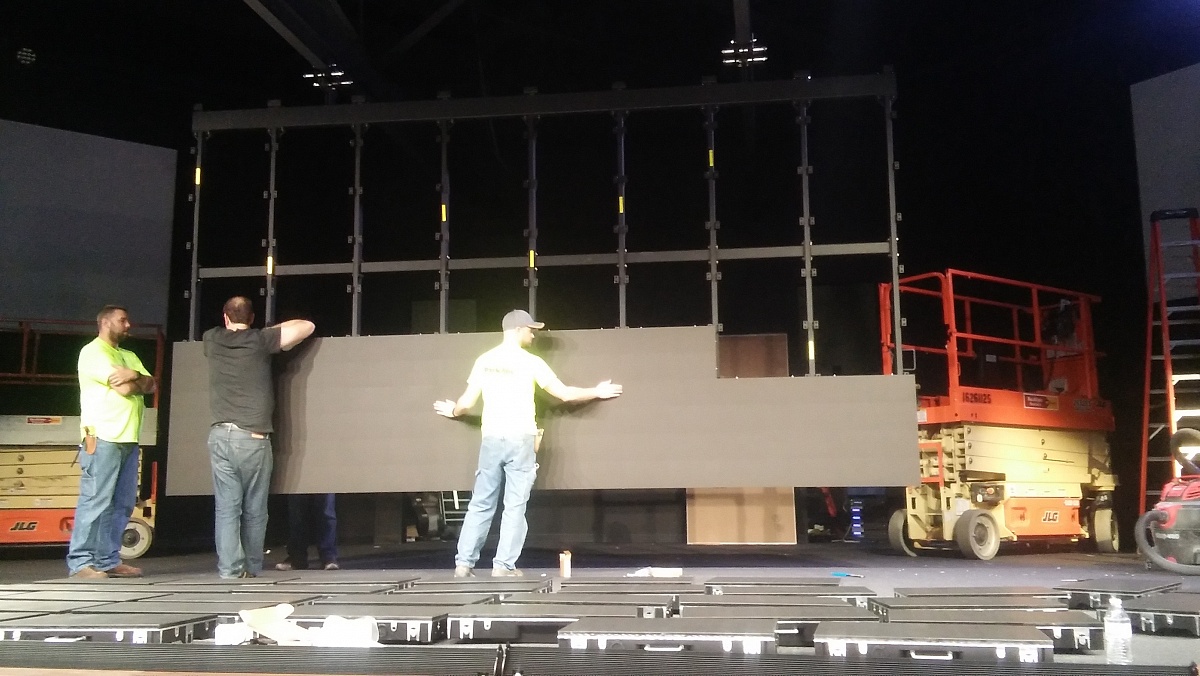
The first step is to create a project according to which the final installation will take place. The choice of mounting option depends on the customer’s wishes, be it wall, suspended, floor or a combination of them. It is worth noting that the last option is the most complex and labor-intensive to implement and can significantly affect the price of installing a video wall. Only after the mounting option has been determined, can you begin installation work.
The next step is to wire the panels to each other or connect each individual panel to a common video wall controller. The choice of switching option here depends not only on the design features of the final canvas, but is often also determined by the technical features of the equipment itself.
Video wall setup
After the video wall is installed and all its elements are connected to a single switching system, specialists align the panels and ensure that the size of the seam between the modules does not exceed the permissible values. It is worth noting that in the case of installation and setup of a seamless video wall, the gap between the panels often does not exceed one or two millimeters. Thus, the process of aligning a seamless video wall is not possible without special, professional fasteners.
Next, the already connected and aligned modules are combined into a single canvas using commissioning work. Settings for synchronizing image transmission are carried out either in each individual panel or in a single controller to which they are all connected.
When the image is already synchronously displayed on a single screen, video wall installation and setup specialists calibrate the canvas. To do this, each module is brought to the required brightness and color gamut characteristics so that none of the panels stand out from the overall picture. This process is often carried out using the built-in settings in the modules, but in some cases it is necessary to resort to using a separate calibrator.


